Give your beard a border! You can usually get away with not maintaining your beard neckline when you’re just sporting stubble. But once it goes beyond 3mm and starts turning into a short beard, you need to reach for your trimmer.
Neat. Tidy. Well defined.
Just because you can’t see your own beard neckline doesn’t mean you can forget about how scruffy it’s getting. Most beards look much better with a well maintained neckline, so it’s time to face the question of how high or low you should go. Here’s how to trim a beard neckline that means business:
Step 1: Know where to stop
Look straight in the mirror, holding your head upright. Any hairs below an imaginary line running below your chin definitely have to go. Now.
Step 2: Define the line
Tilt your head back a bit and place one finger of your other hand just at the top of your Adam’s apple. This spot marks a natural dividing line between your beard and your neck.
Step 3: Take your cue from the center
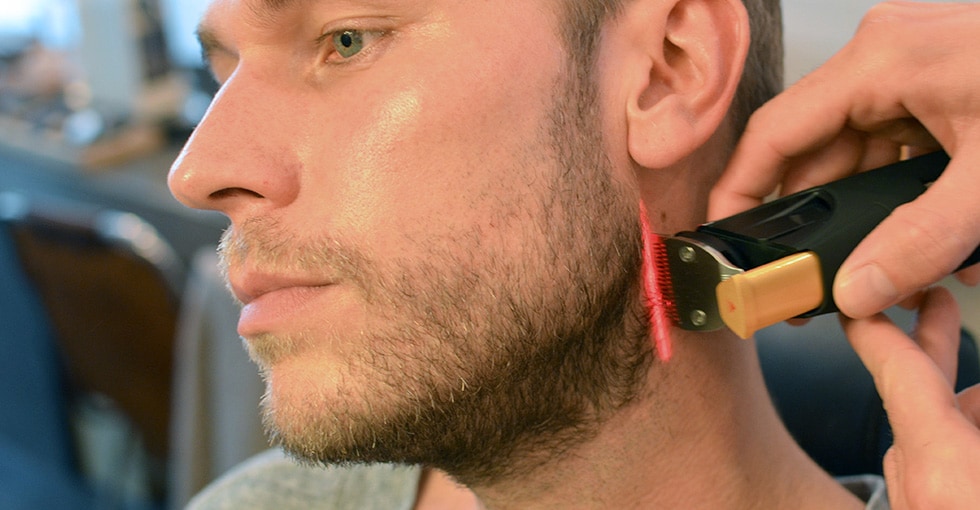
Place your trimmer at this spot and trim down. (If you use a Philips Beard Trimmer 9000, the handy laser guide will show you where your trimming line will be.) Continue on one side, working outwards from the middle, ensuring you stay under the jawline. Return to the middle, and work outwards on the other side. Don’t make your beard neckline too round – a slight upcurve is best.
Step 4: Stay square or go round
Define the corners of your beard by trimming a vertical line below your ear lobes to connect with the horizontal line below your chin. You can leave this as a chiselled, angular corner (very macho) or gently round it off to make less of a statement.
Step 5: The finishing touch
Like it? If you’re happy with your trim, follow through with your shaver to make your beard neckline something your collar will feel proud to be seen with. Or just set your Philips Beard Trimmer 9000 to its 0.4mm setting for a very close final trim. The laser guide is also an easy way to create perfect cheeklines, so what are you waiting for?

